Android: Using Tasker to backup photos to OneDrive
I have for the longest time used QuickPic to backup the photos on my mobile device (in addition to viewing photos). Until recently this has worked out well, but as the app is no longer reliable I had to search for another setup. After searching around for a longest while I was unable to find any application that fulfilled my requirements, thus I setup my own solution using Tasker and OneSync.
The setup I am using now and describing below works with any other cloud/network backup solution, in that case OneSync can be replaced with another app of your choice.
Prerequisites
- Android
- Tasker
- OneSync
Overall idea
- Most backup solutions have possibility for one-way sync with deletion, i.e. copy the source file to destination and remove the original source file.
- Local copy
- Tasker will monitor folders where new photos (or other files for that matter) are created.
- Upon creation of a new file Tasker will copy the file to a pre-set destination folder.
- Remote copy
The pre-set folder is monitored for changes by the cloud backup solution, or Tasker may trigger an upload action.
- The cloud backup solution will copy the file from the local source folder to destination cloud folder
- The local source file will be removed.
Let us start with the remote copy setup first.
Cloud backup
I will be using the OneSync software to backup to OneDrive, but similar technique applies for other destinations.
Start by installing OneSync.
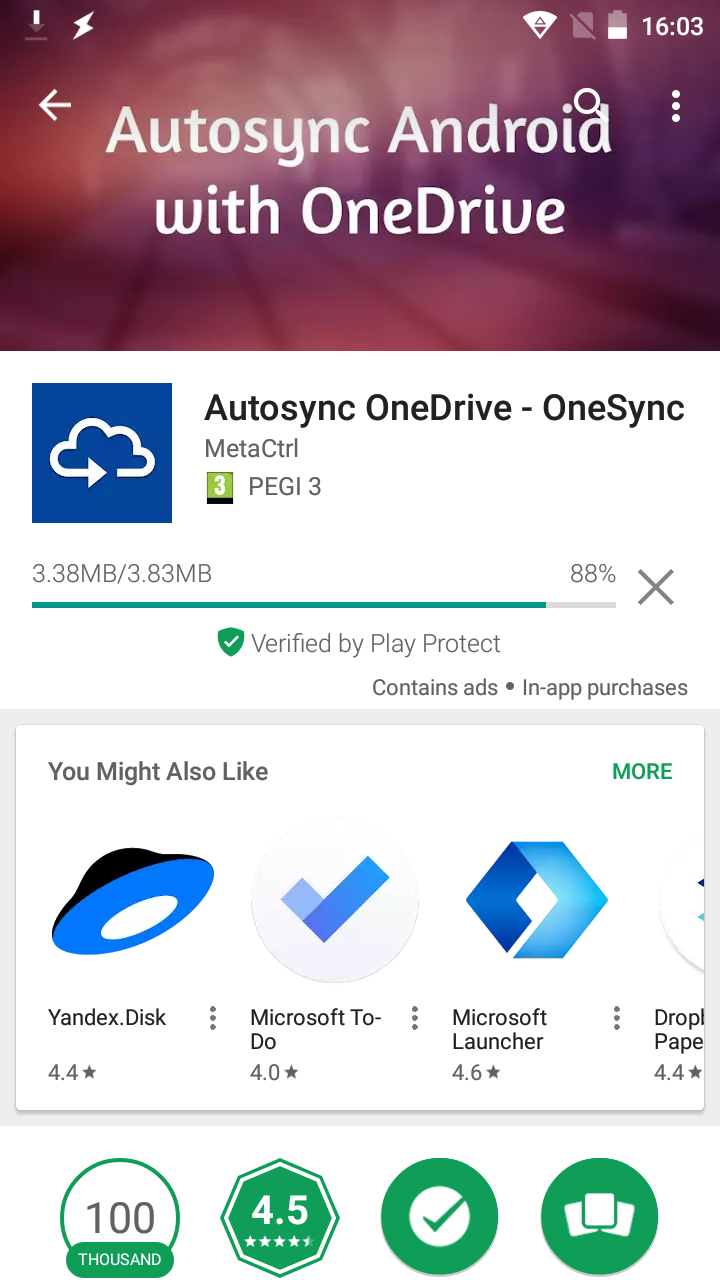
Installing OneSync
Connect OneSync to you OneDrive
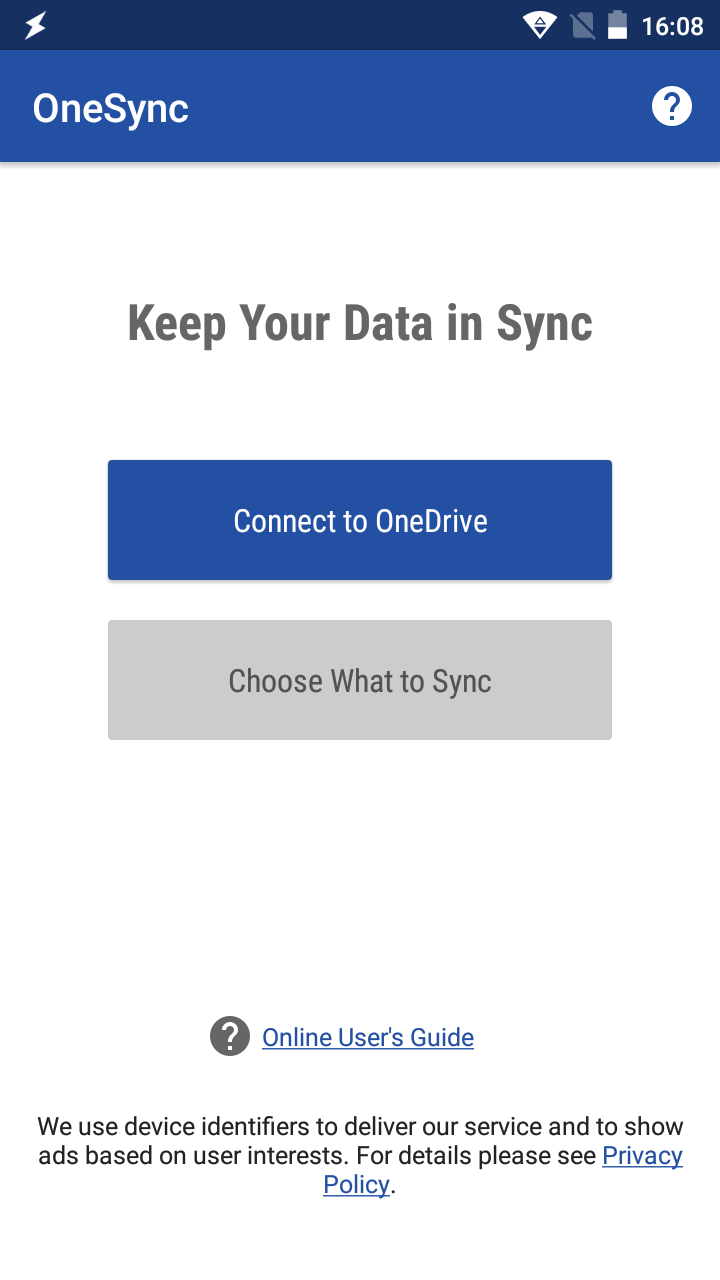
Connect OneSync to OneDrive (1/2)
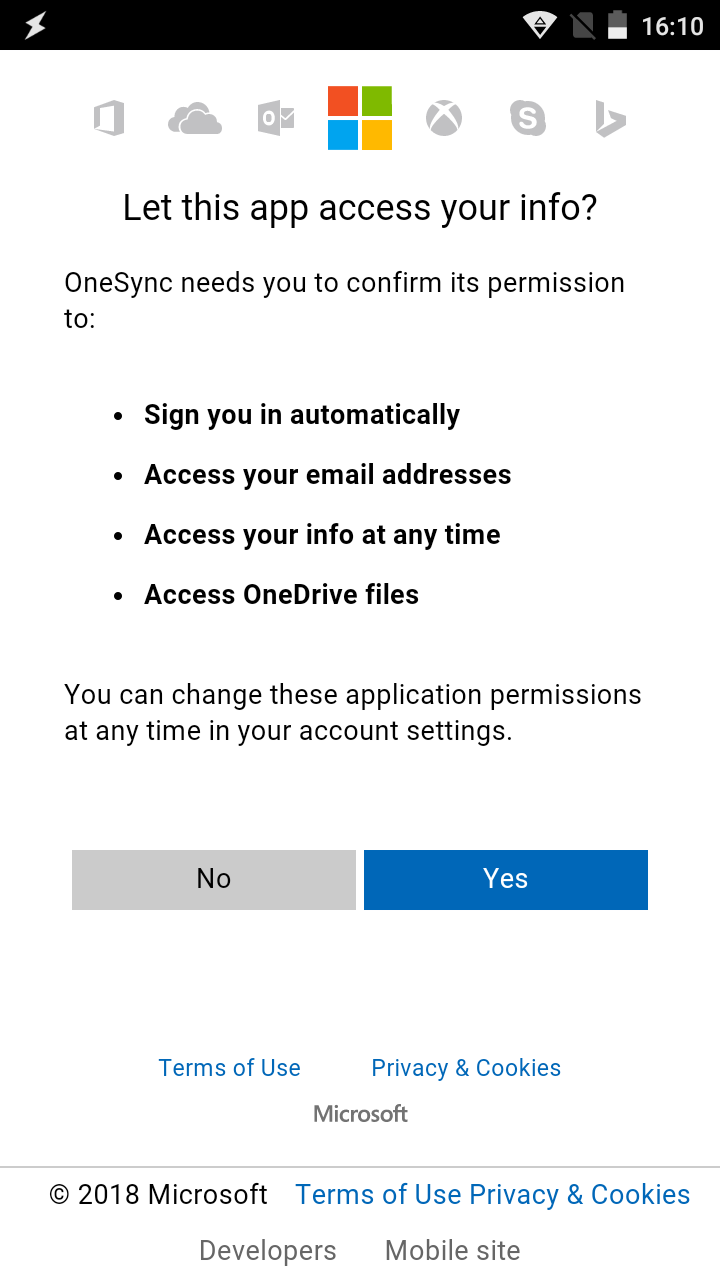
Connect OneSync to OneDrive (2/2)
When OneSync is connected, set up a folder pair to sync. I use the following settings:
Remote folder:  /Picture/Camera Roll
Local folder:   /storage/emulated/0/DCIM/Uploads
Sync method:    Upload then delete
Sync enabled:   True
Press Save
In the above settings, OneSync will move any files found in my local folder
/storage/emulated/0/DCIM/Uploads1 to the Camera Roll in my OneDrive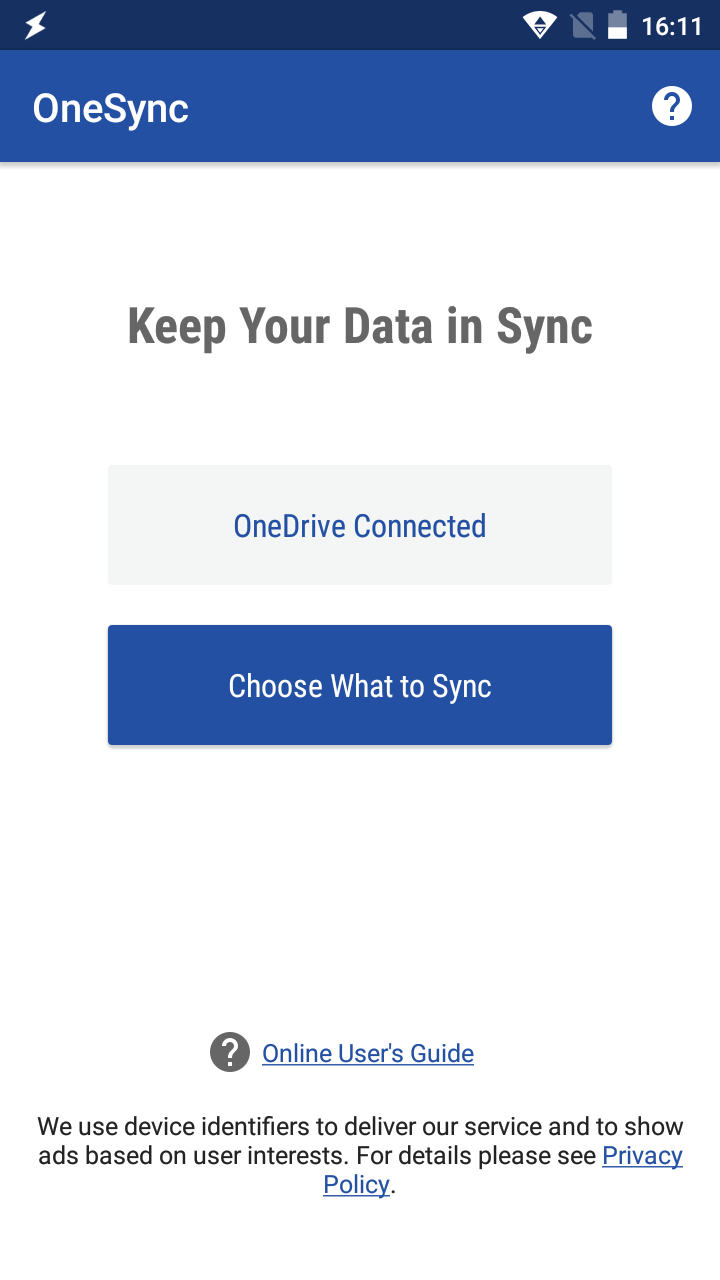
Select 'Choose what to Sync'
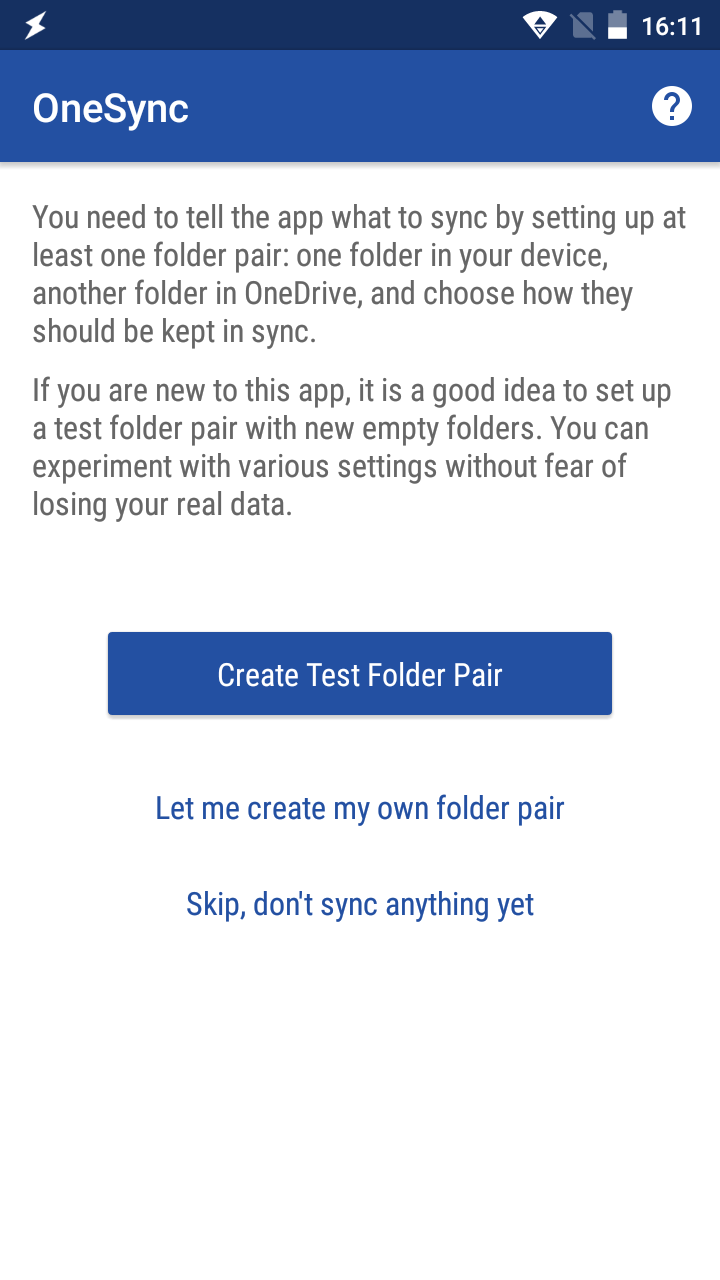
Select 'Let me create my own folder pair'
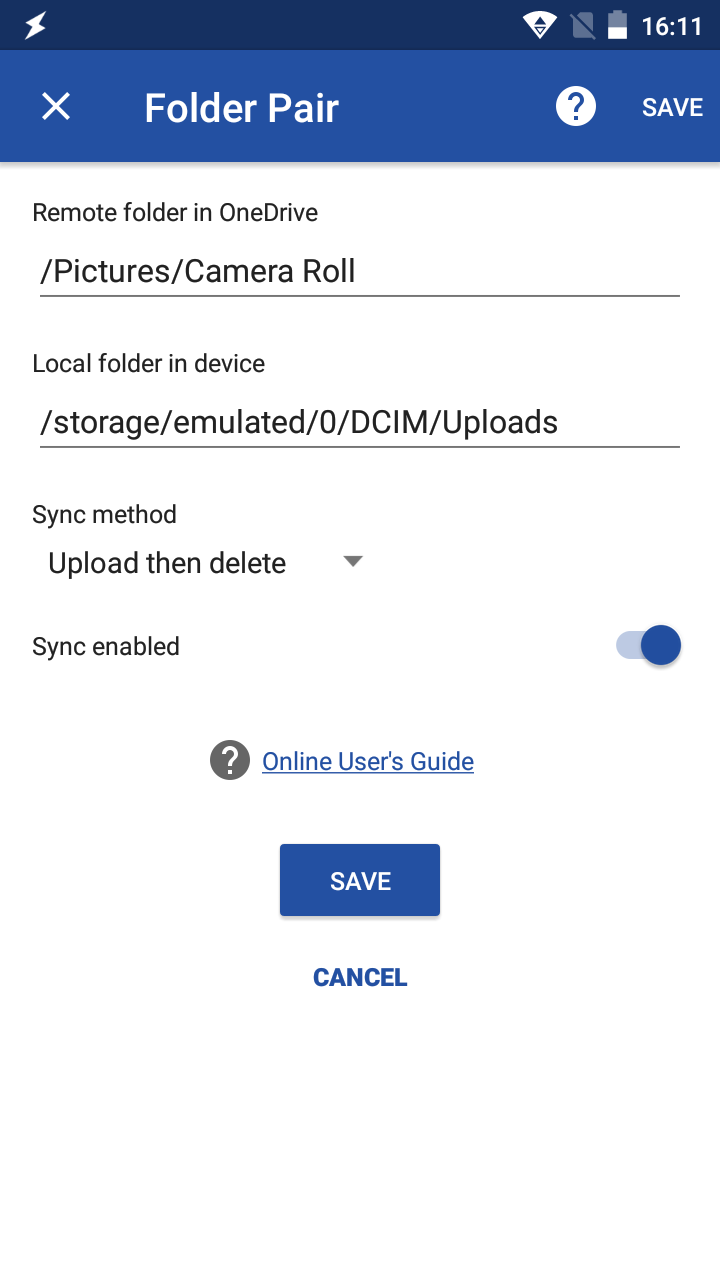
The configuration I use
Enable your newly created folder pair under the
SYNCED FOLDERStab.Uncheck the
Enable Autosync. The sync will be triggered by Tasker, thus there is no need for an extra service running in the background.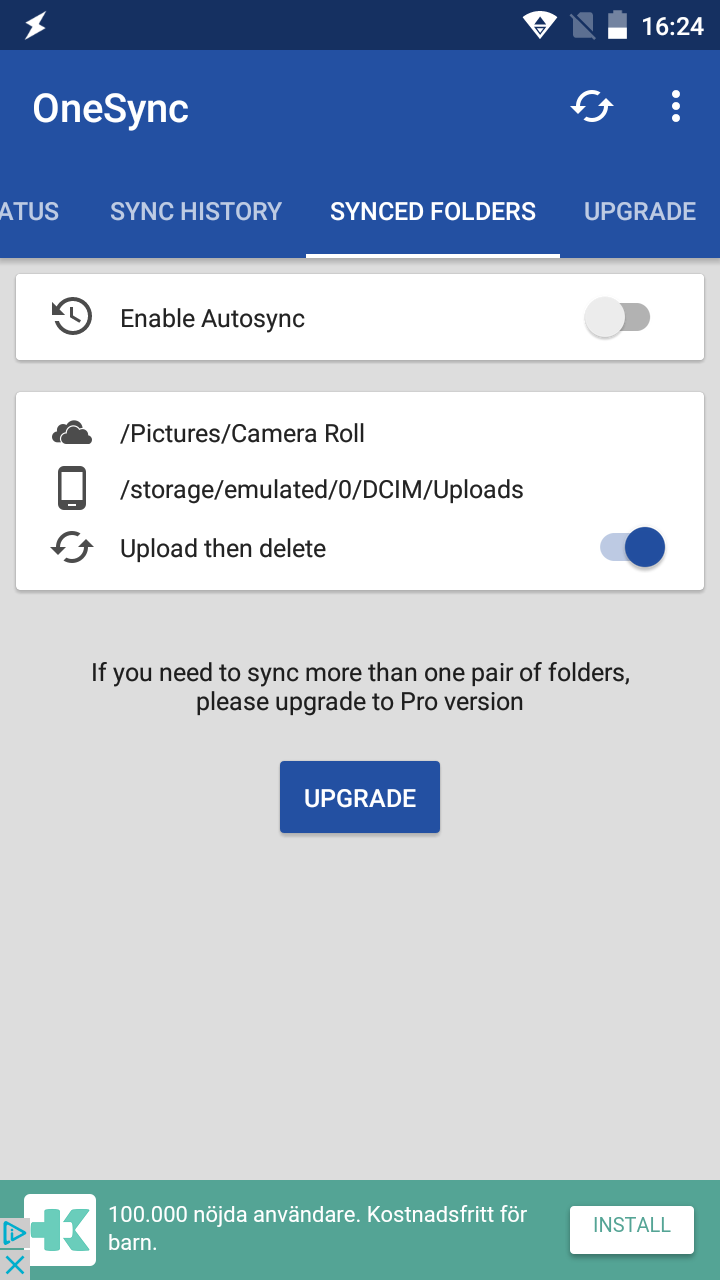
Uncheck Enable Autosync
Verify that OneSync works.
Copy a file to the local folder.
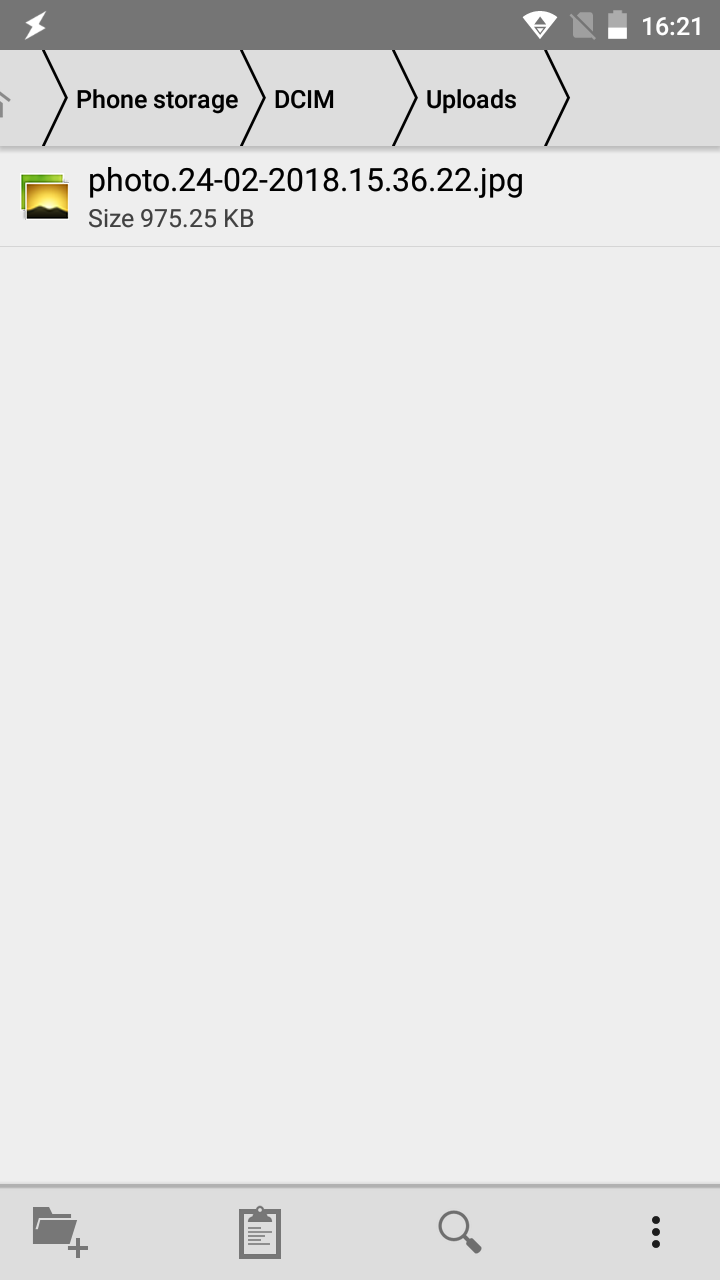
A file to be copied to backed up
Open OneSync and press the
Sync Nowbutton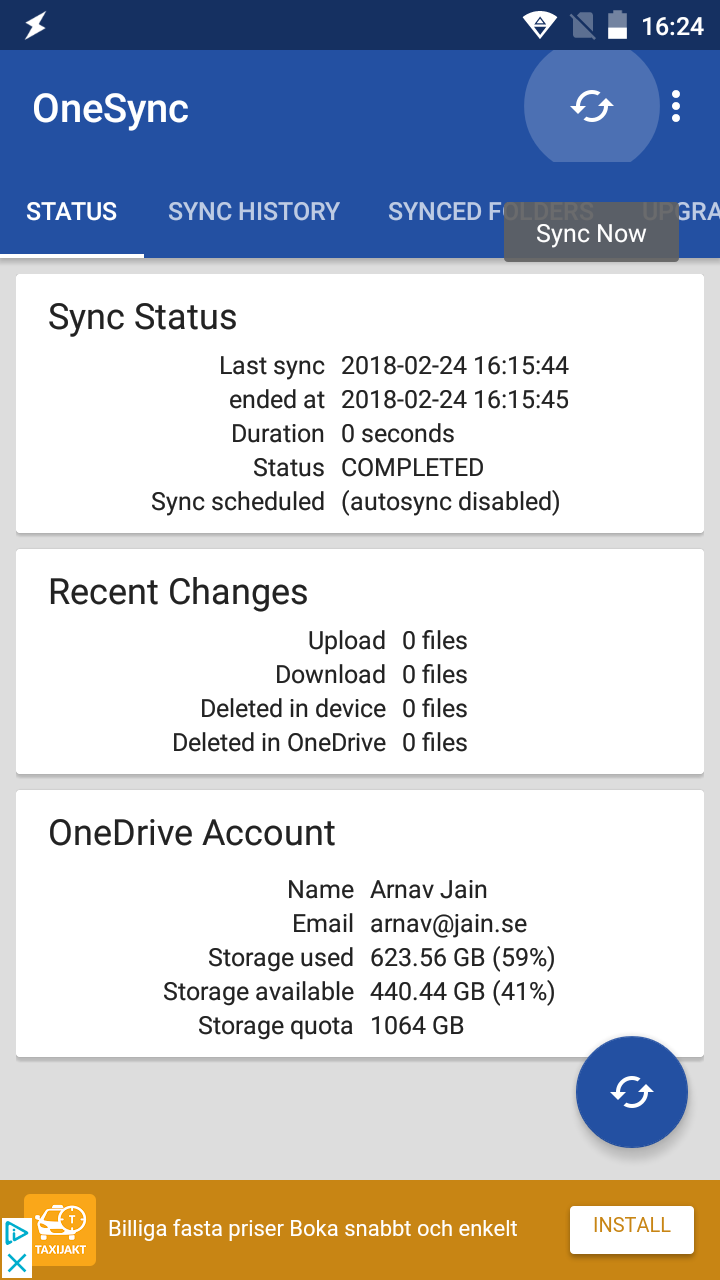
Start a manual sync

Sync in progress
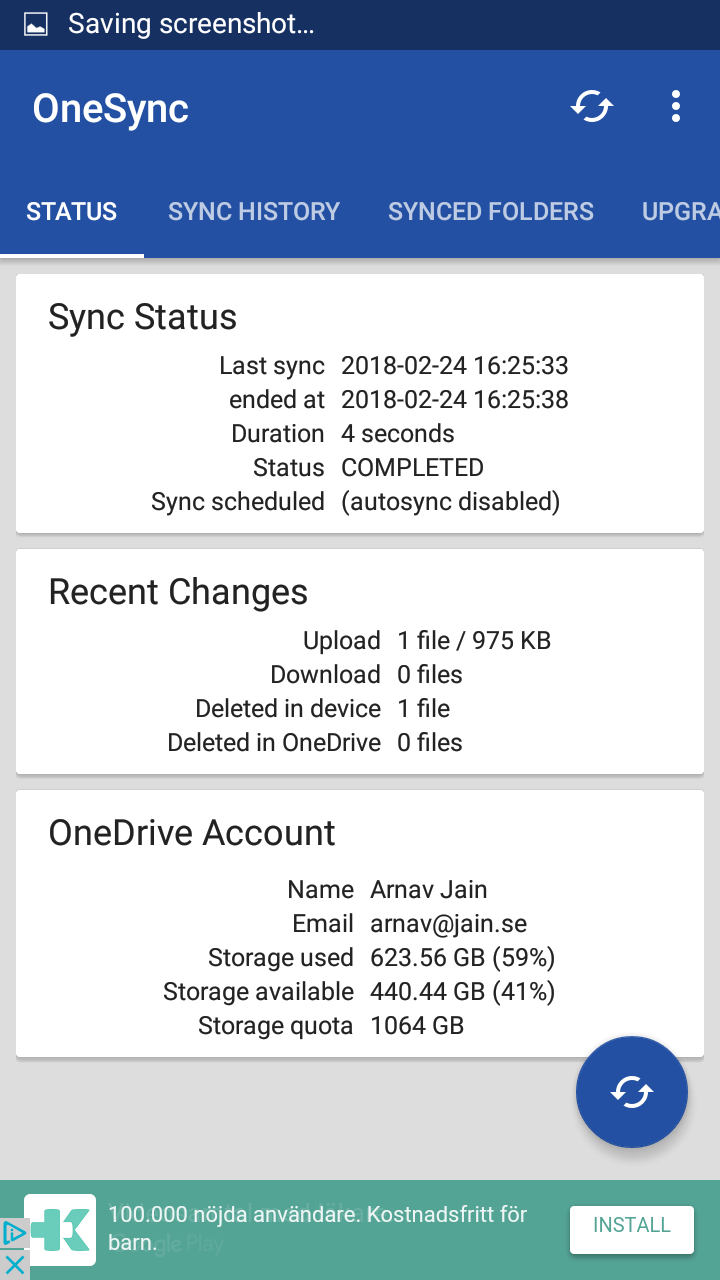
Sync complete
The file should now be copied to your camera roll
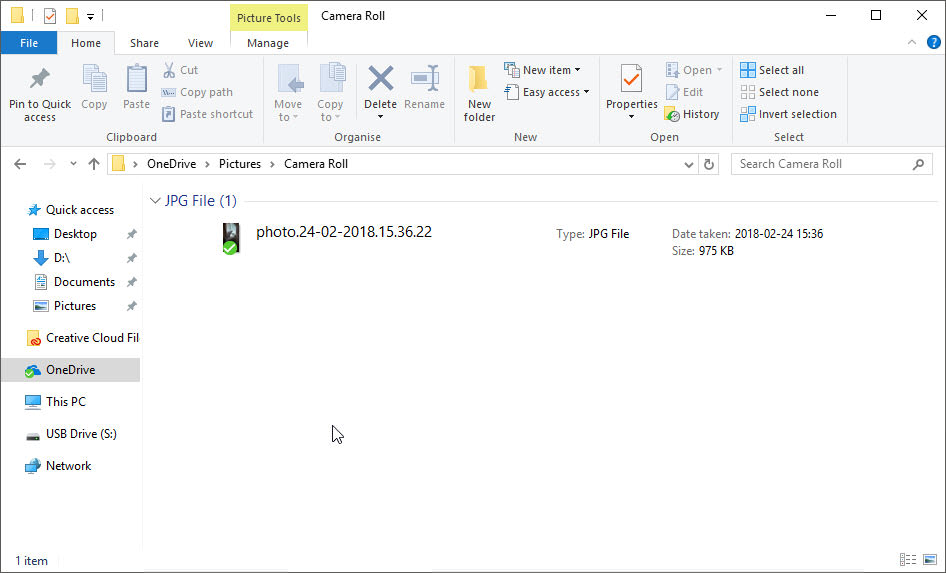
File now in Camera Roll folder
Setting up Tasker
Here we will set up two items, the task that actually copies the file and initiates the trigger and the profile which monitors the directory.
Monitoring directory
Open Tasker
Create a new Event profile.
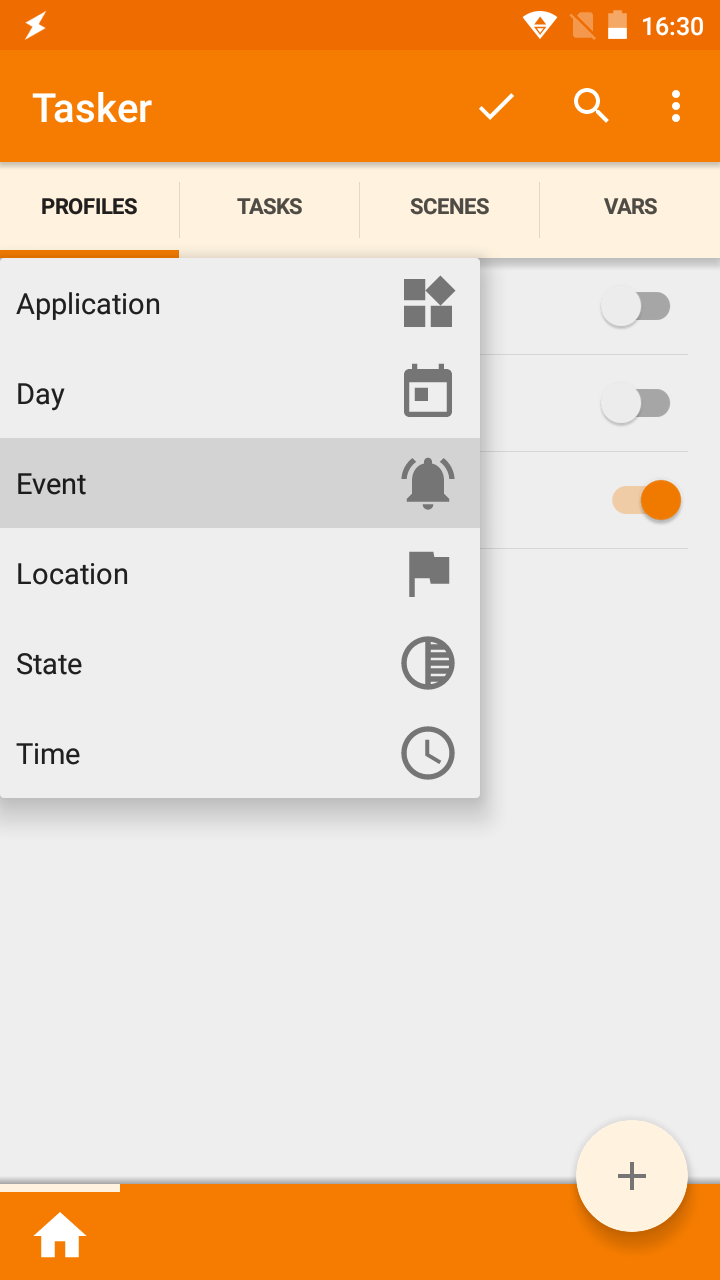
New Event profile
Select
File→File ModifiedIn the Event Edit, press the magnifying to bring up a file selector.
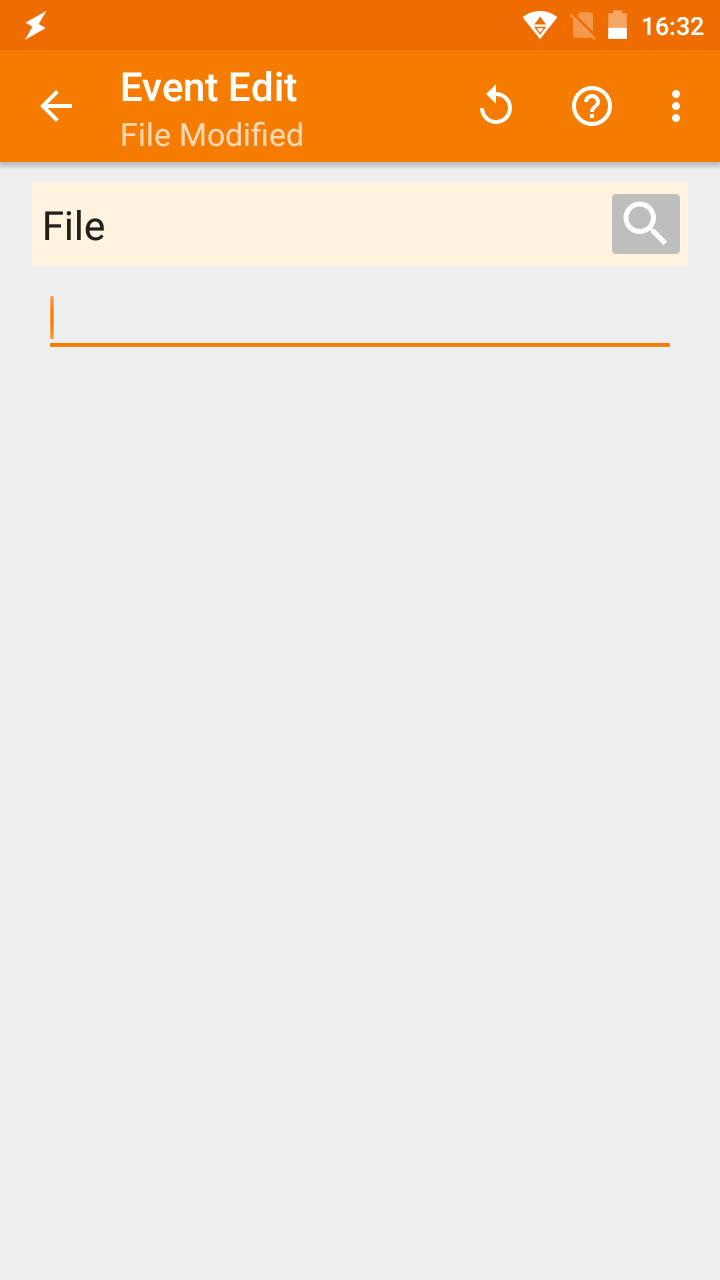
New Event profile
Navigate to the folder you wish to monitor
Long press the folder you wish to monitor.
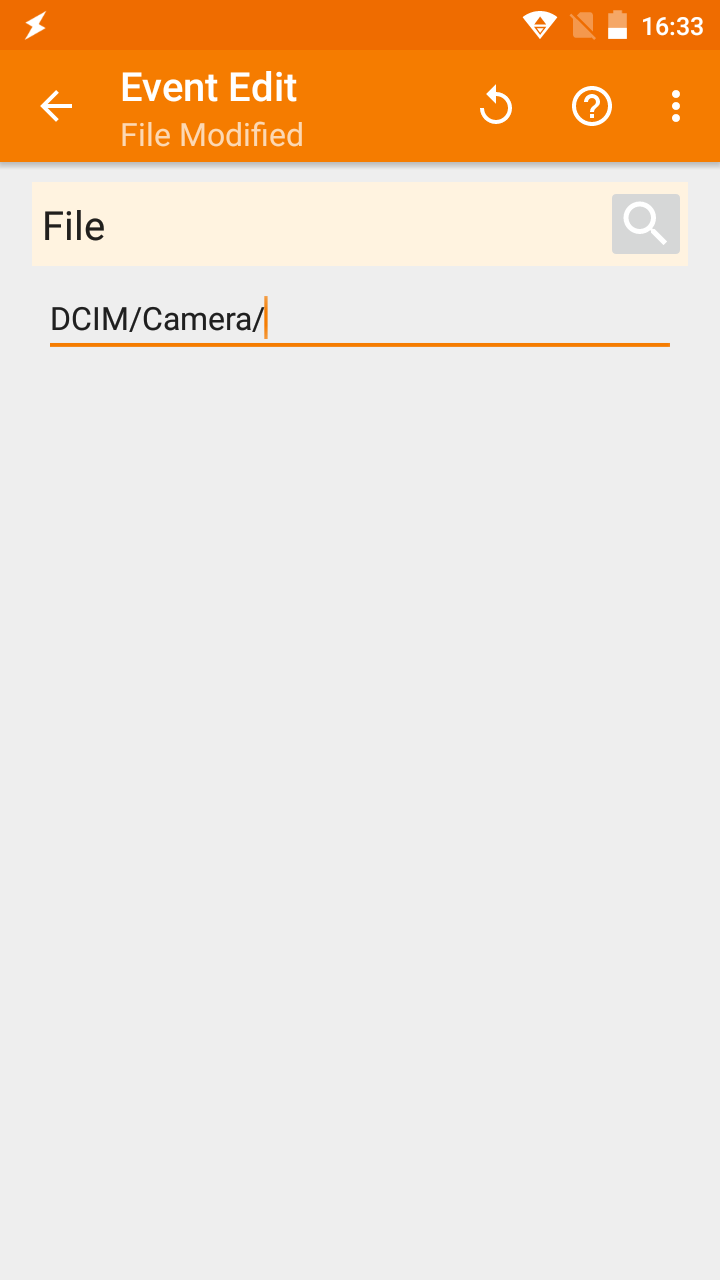
The folder '/sdcard/DCIM/Camera/' selected to be monitored
Press the back key
Select
New Task
Creating the task

Overview of the task
Add an action:
Variables→Variable SetName: %dir To: %evtprm()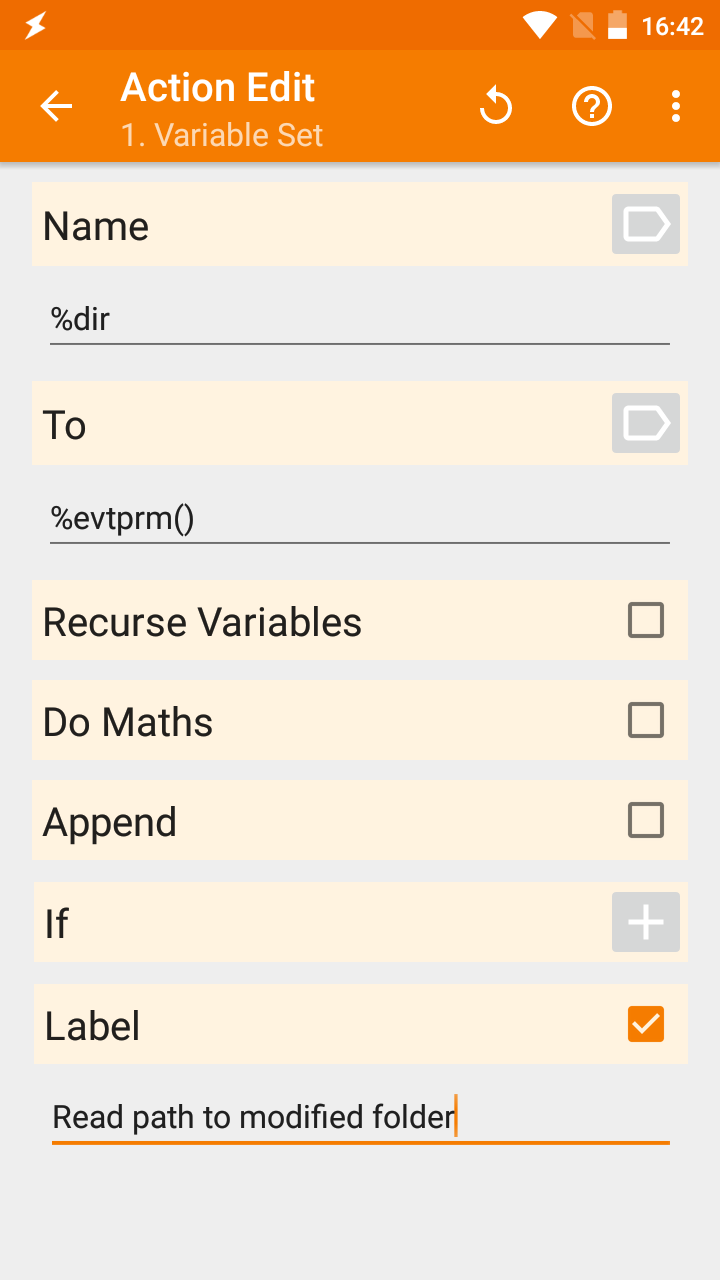
Action: Variable Set
Action:
Variables→Variable Search ReplaceVariable: %dir Search: file:// Replace Matches: True Replace With: <Empty>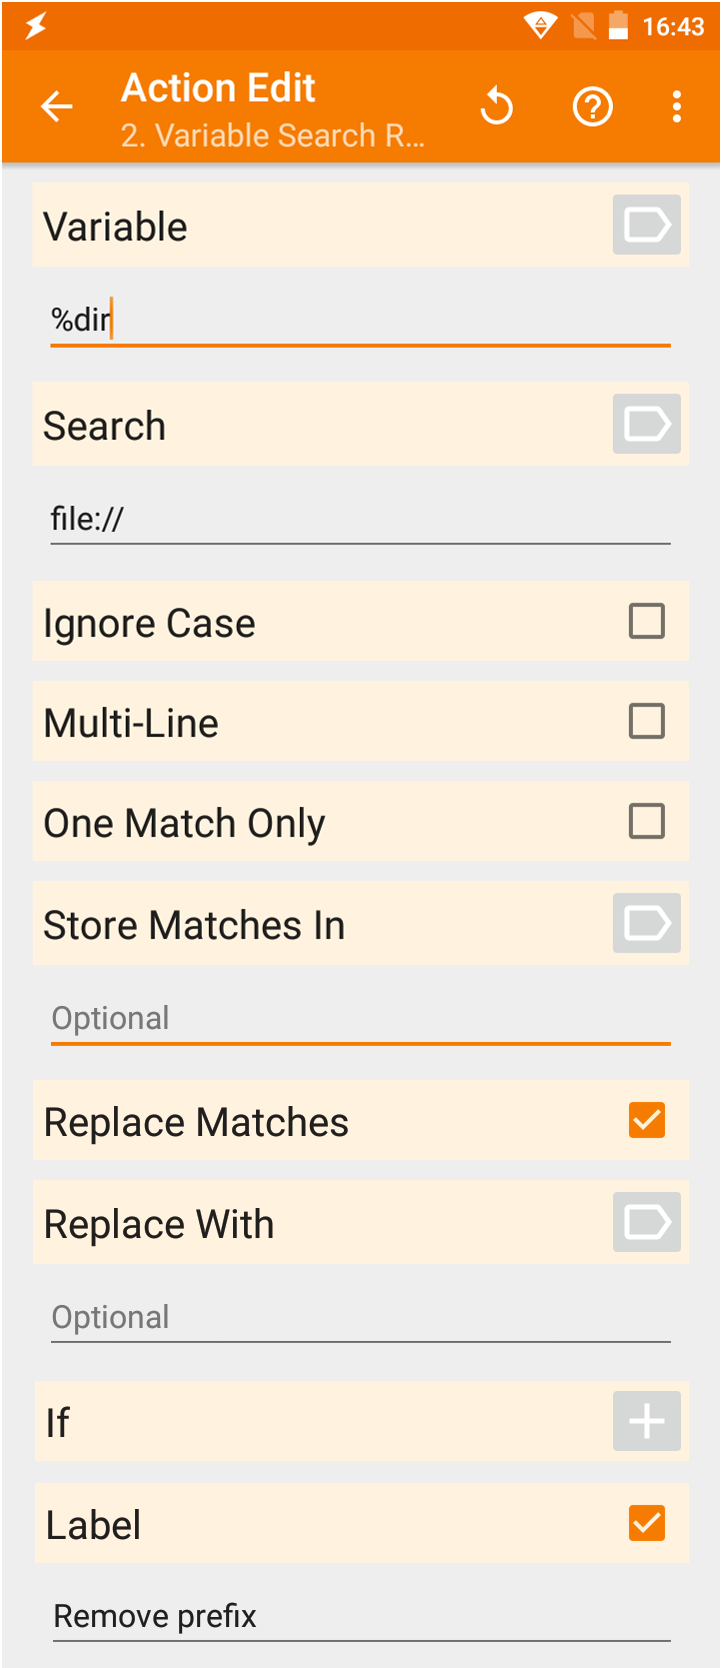
Action: Variable Search Replace
Action:
File→List FilesDir: %dir Sort Select: Modification Date, Reverse Variable: %files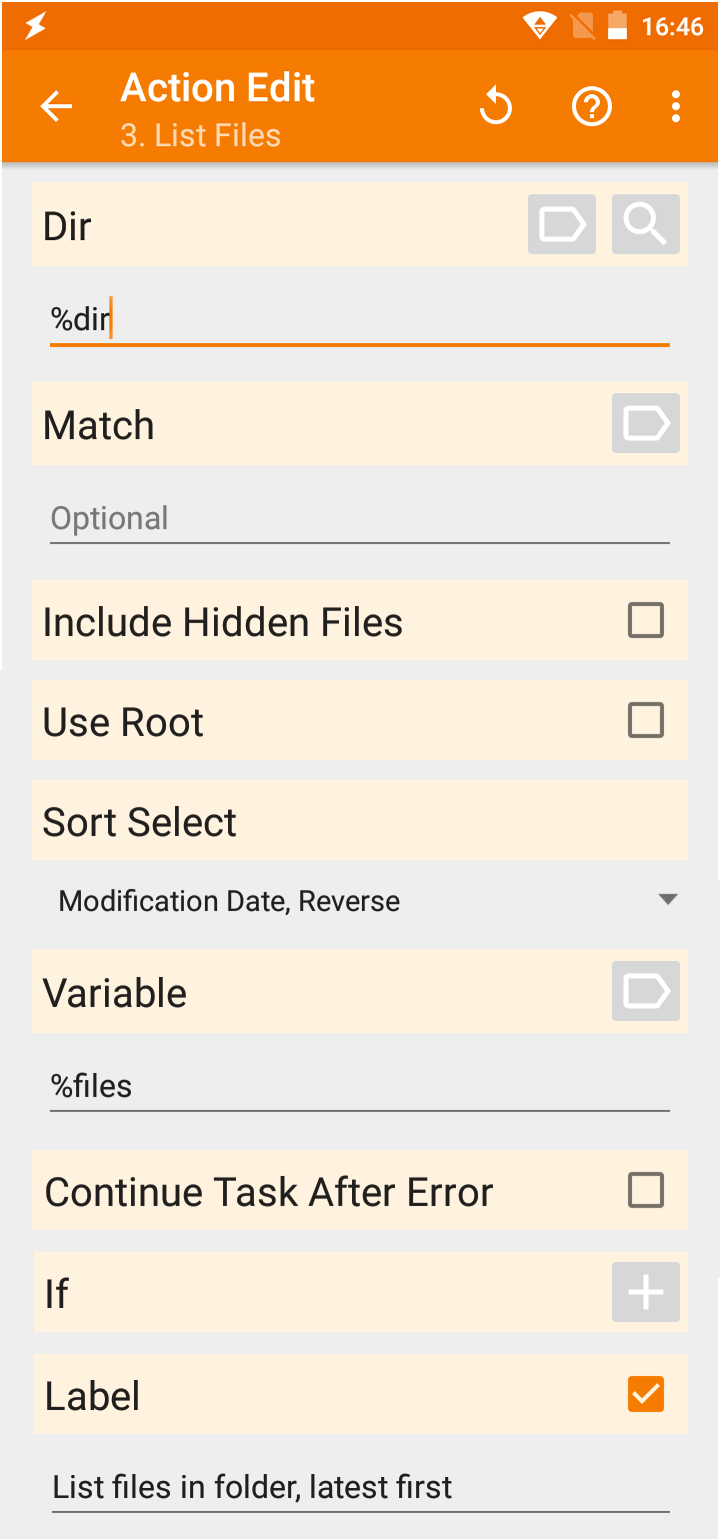
Action: List files
Action:
Variable SetName: %file To: %files(1)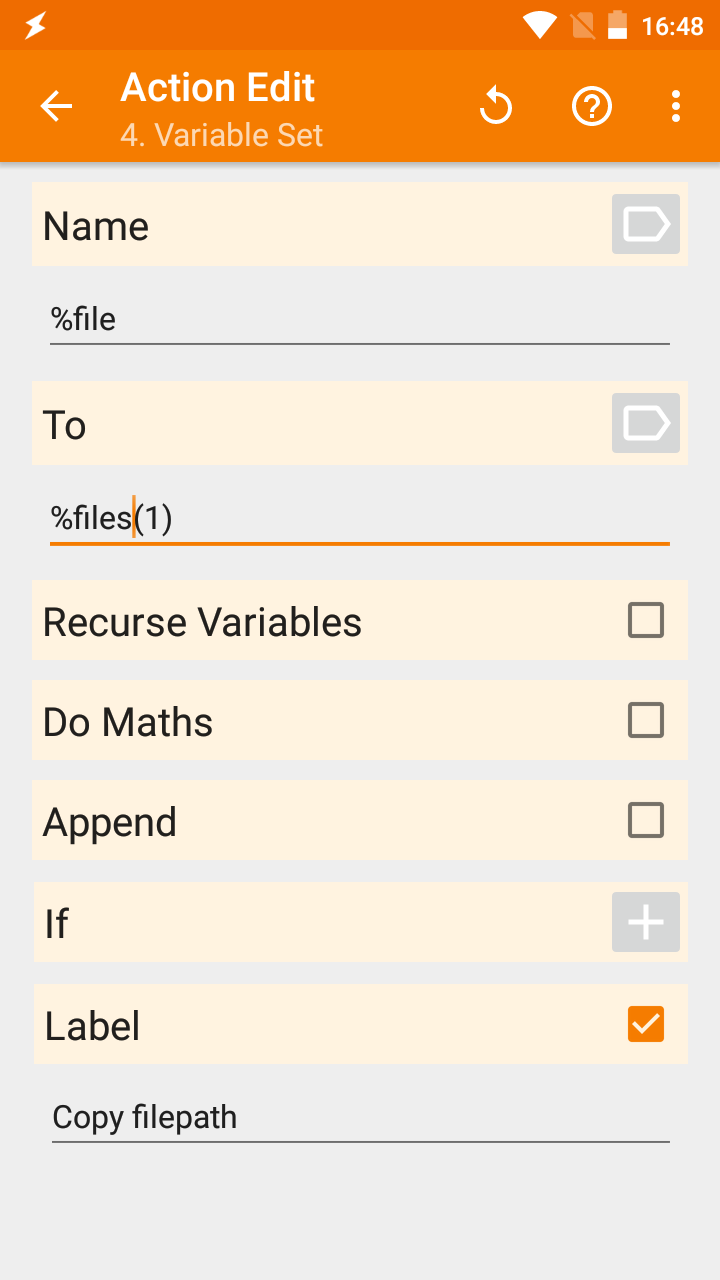
Action: Variable Set
Action:
Variable Search ReplaceVariable: %file Search: %dir Replace Matches: True Replace With: <path-to-sync-folder><path-to-sync-folder>above represents the folder set up earlier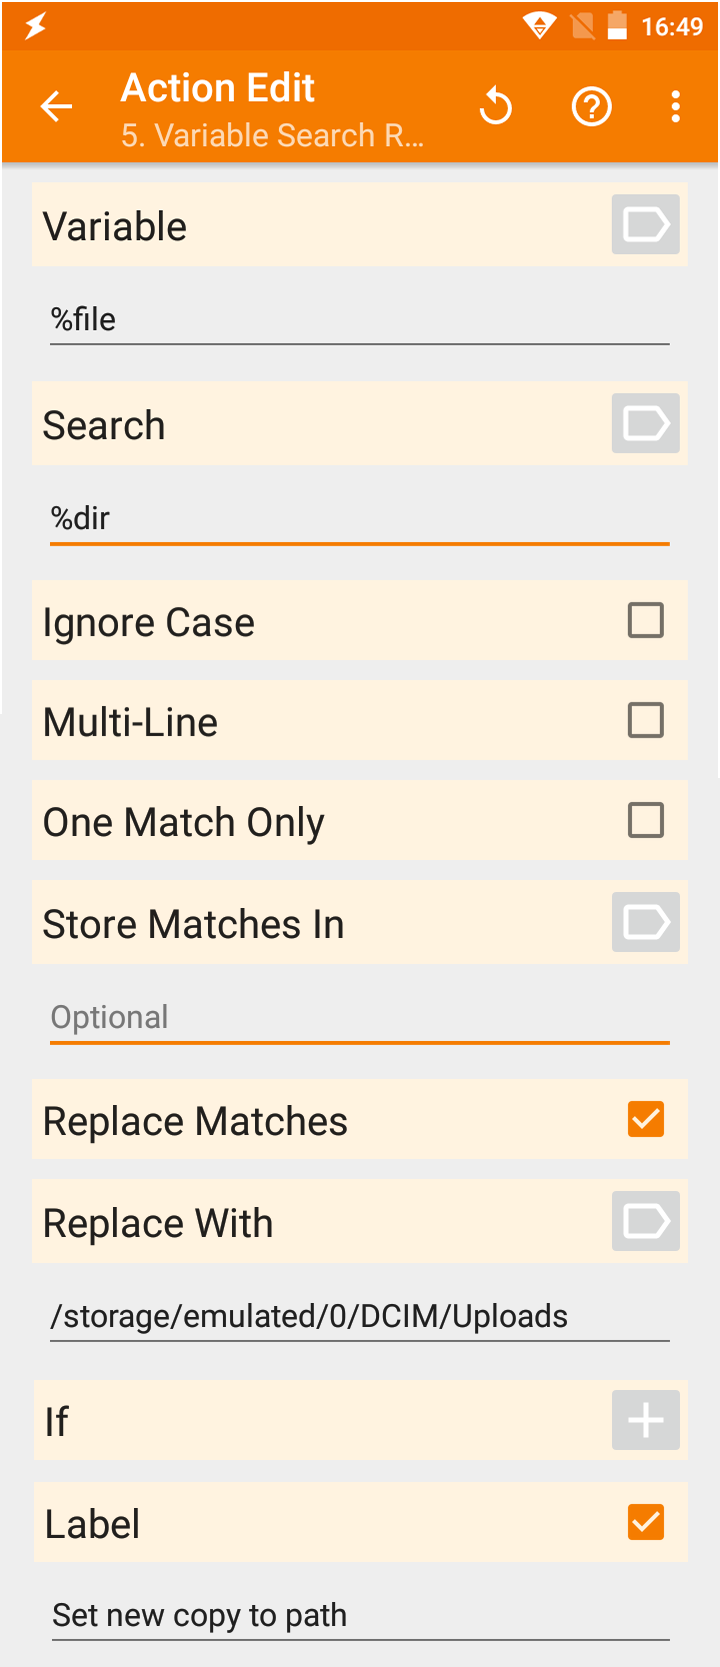
Action: Variable Search Replace
Action:
Files→Copy FileFrom: %files(1) To: %file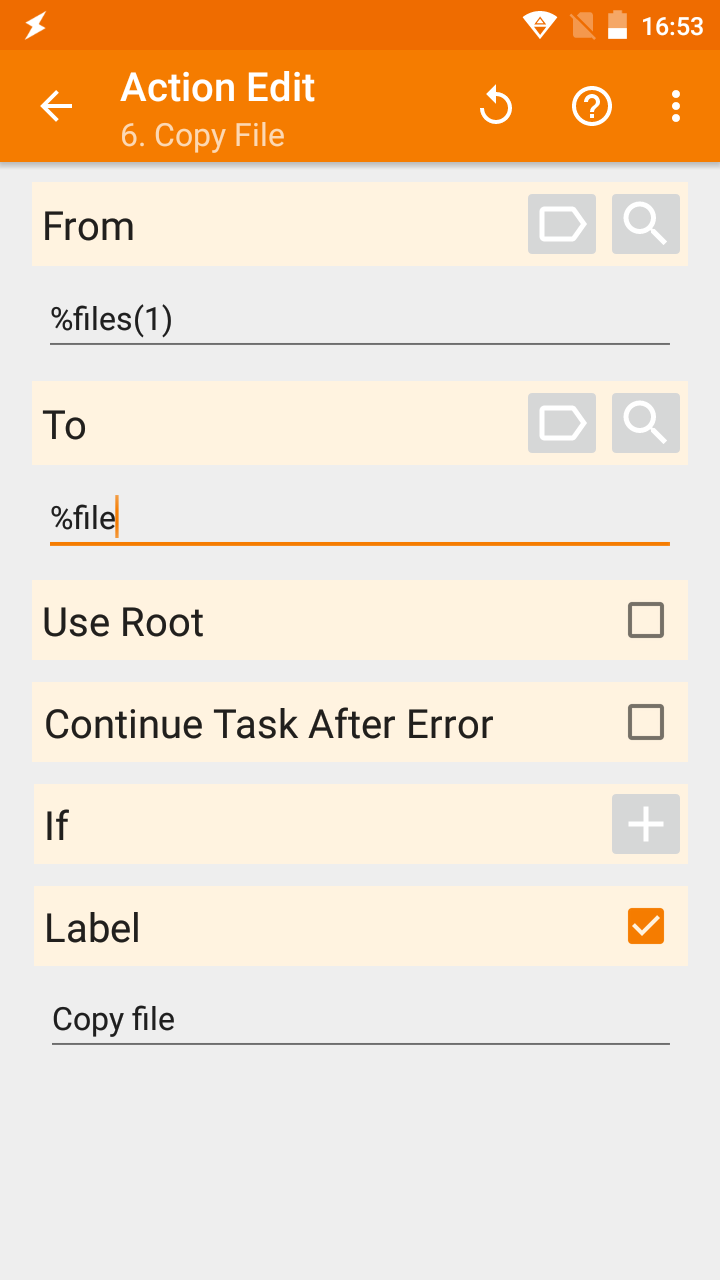
Action: Copy File
Action:
Plugin→ OneSyncConfiguration: Sync Now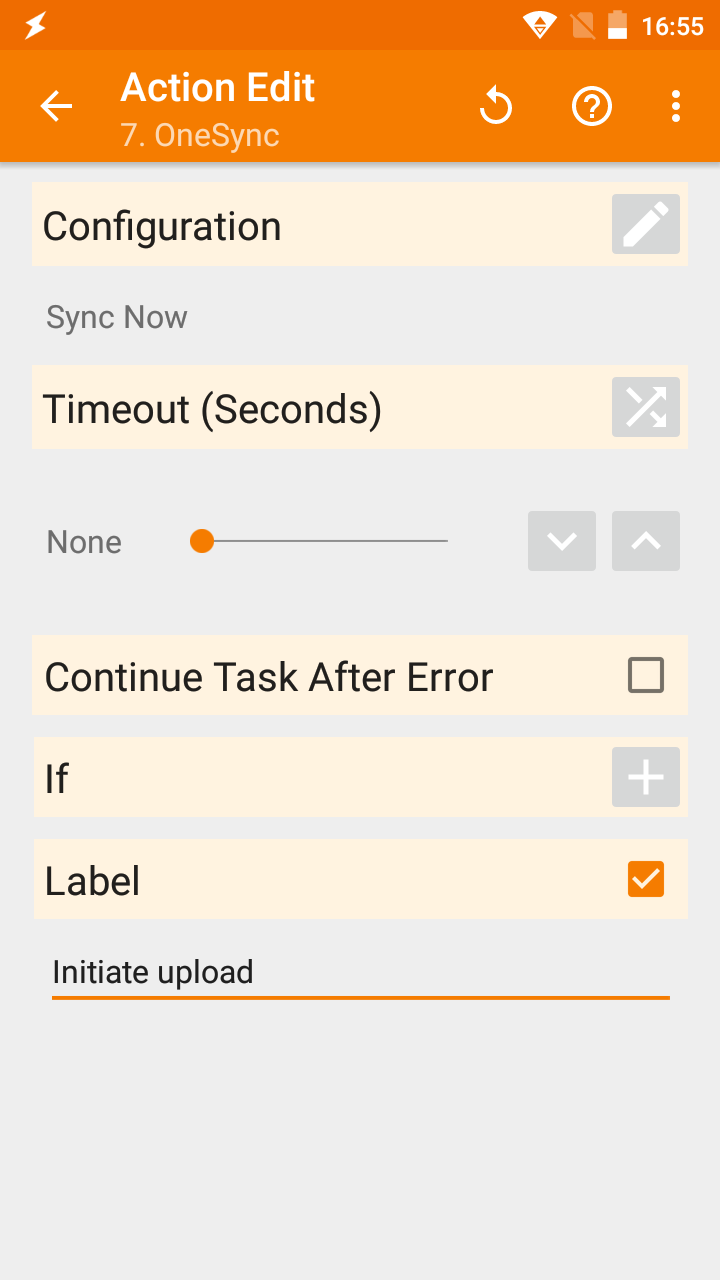
Caption
Now test that this works by adding a file into the monitored directory.
Links
Google Play | Autosync OneDrive - OneSync Google Play | QuickPic - Photo Gallery with Google Drive Support Google Play | Tasker
- Of course, this can be any folder on your device. It is advised to keep this on the local SD card to avoid having to deal with permissions to external SD cards on later Android versions. [return]